top of page
BOTTOMS UP
DRAFT BEER SYSTEMS
Est. 2008
HOME
MORE INFO
How It Works / Benefits
Testimonials
ROI Calculator
Bottom Fillers Club
Customer Installations
Customer Map
Join Our Team!
FAQ
SHOP
Commercial Equipment
Draft Beer for the Home
Disposable Plastic Cups
Glass, Pints & Pitchers
Magnets
All Drinkware
Gift Shop
SUPPORT
How to Program a Bottoms Up Tap
How to Clean
Training
Technical Support
Policy & Terms
CONTACT
United States
Schedule an Appointment
See It In Person
International Partners
More
Use tab to navigate through the menu items.
Sign Up / Login
Technical Support
Technical Support
Play Video
Play Video
07:16
12 Reasons You Might be Losing Beer with a Bottoms Up Dispenser. Cause it should be perfect!
The Bottoms Up Draft Beer System provides the highest keg yield in the world at around 98% on average. If you aren't experiencing those types of numbers then here are some reasons as to why that might be. Nine times out of ten they are easy fixes. The most common reasons are as follows: 1. Under-pouring or Over-pouring due to misprogrammed size (changing over to a different type of beer can also cause this) / Timecode: 00:20 2. A recent beer line cleaning that got rid of some gunk that was impeding beer flow / Timecode: 00:57 3. A loose cup coupler that causes beer to leak out after being poured / Timecode: 01:40 4. A twisted o-ring on the cup coupler that causes beer to leak out after being poured / Timecode: 02:15 5. A missing case nut o-ring can cause beer to leak out after being poured / Timecode: 03:16 6. The metal ring at the bottom of a Bottoms Up vessel has been damaged / Timecode: 03:25 7. Slowly picking up a vessel off the dispenser. DON'T BE SCARED, PICK IT UP QUICKLY / Timecode: 04:05 8. Bleeding off an Empty Keg Detector for too long / Timecode: 04:21 9. A Leaky plunger head / Timecode: 04:45 10. Leakage when using taller vessels (32oz cups or pitchers) / Timecode: 05:30 11. If using an analytics system, entering in the wrong plug number for the glass / Timecode: 05:55 12. Comped (free) beers and or theft / Timecode: 06:55 How many pints you get out of a Keg with Bottoms Up: https://youtu.be/RK1ko2kX0mM How to program a size: https://youtu.be/rb6cNpT5ewc How to replace a plunger head O-ring: https://youtu.be/52BLgJ_P4yA How to replace a diaphragm: https://youtu.be/HgZcem2vMag Should you have any questions or need technical assistance please call us at 888-618-0486 ext. 4 or email us at support@bottomsupbeer.com Feel free to visit our website www.bottomsupbeer.com for more information as well
Play Video
Play Video
01:03
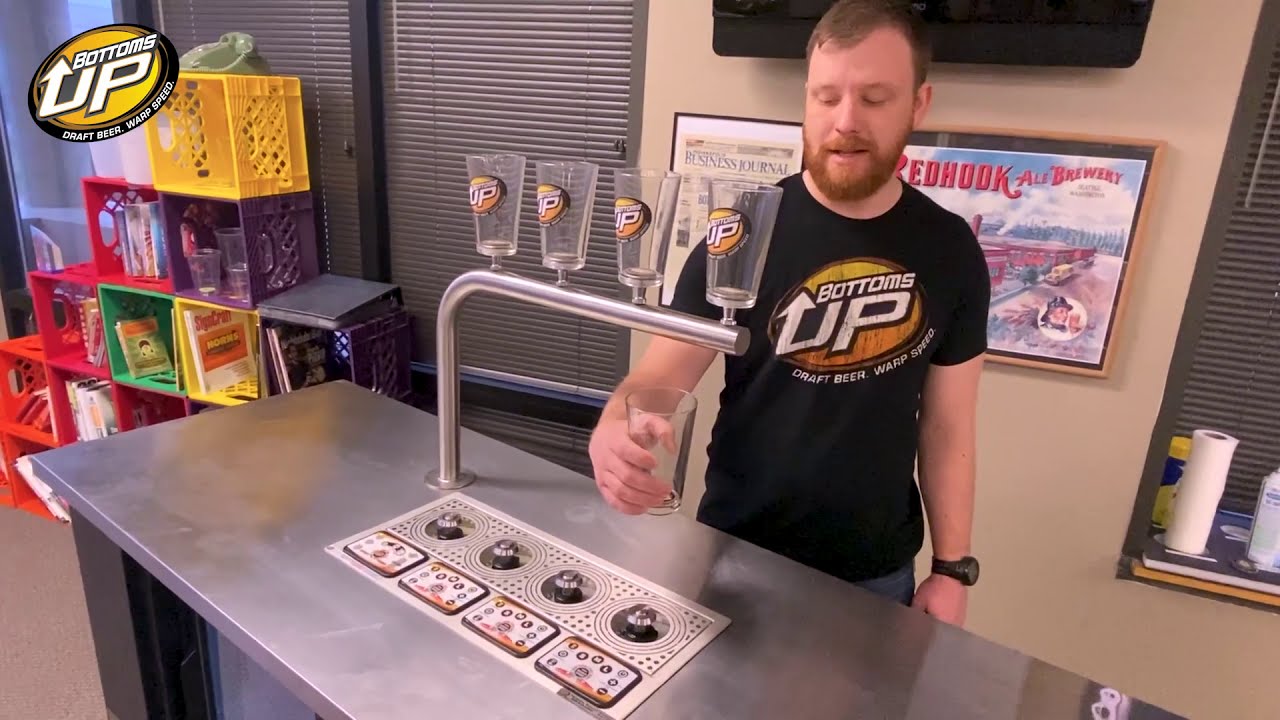
How To Put A Cup On A Bottoms Up Beer Dispenser
Today we explain how to properly handle and place a Bottoms Up cup onto the dispenser.
Play Video
Play Video
06:09
Cleaning a Bottoms Up kegerator dispenser
Need to clean your lines? Here, we show how to use the cleaning kit provided with your kegerator. 0:00 Cleaning kit overview 0:48 Cleaning powder mix ratio 1:18 Filling canister with warm water + adding cleaning powder 1:57 Tapping the cannister 2:18 Cleaning the line using Purge (or Prime) mode 3:05 Letting the line soak for a couple minutes 3:27 Emptying the cannister & refilling with cold water 4:35 Flushing the line with water 5:30 Tapping your keg 5:49 Purging the line with beer
Play Video
Play Video
09:23
How to replace a glycol chiller motor for a Bottoms Up beer system
Does your glycol chiller sound extra loud? Is there a weird hum or squeal coming from the motor? Although rare, it could mean the motor needs changed. If your beer is coming out warm, yet the chiller shows a reading of 28-32F, the glycol pump (https://youtu.be/XDegazn2OQY) or more commonly, the pump key (https://youtu.be/4e_jE27XVb4), will need replaced. You'll be able to examine both of these parts when changing out the motor. As always, give us a call at (888) 618-0486 for more assistance. 0:00 - Identifying motor and pump 0:27 - Overview 0:38 - Removing motor from the chiller 1:03 - Turning off the motor - DO THIS FIRST! 1:26 - Removing the pump 2:06 - Removing wire plate 2:41 - Identifying connections 2:52 - Removing motor clip 3:25 - Removing the black & white connections 4:29 - Removing the green connection 4:49 - Connecting to the new motor 6:00 - Connecting the ground 6:24 - Reattach the wire plate 6:56 - Reattach motor clip 7:32 - Reattach motor to chiller 7:45 - Reattach pump to motor - use new key if possible 8:57 - Firing up the motor & pump
Play Video
Play Video
16:00
How to change out a Bottoms Up brass block
Earlier models of the dispenser include a plated brass block. Over time, the plating could wear down and begin to flake off. Most of these dispensers and blocks have been replaced, but in the rare instance you're noticing this, give us a call at 888-618-0486. 0:00 Turn off gas, disconnect keg 0:20 Relieve pressure 0:45 Why you'd need to replace it 1:10 Remove case nut 2:34 Remove bottom block 4:50 Remove flow sensor screws 6:03 Remove diaphragm clips 6:30 Remove cup sensor 6:43 Unscrew barb & remove plunger assembly 7:25 Insert block o-ring (if needed) 7:37 Insert plunger assembly 8:13 Adjusting diaphragm 8:36 Tighten barb 8:55 Attach flow sensor 10:00 Attach cup sensor 10:40 Attach bottom block 13:35 Fit bottom block to brass block 14:00 Tighten case nut to brass block
Play Video
Play Video
02:05
Lubricating a Bottoms Up valve
A simple video on how to lubricate a bottoms up valve. We use the Loctite 8034 synthetic grease.
Play Video
Play Video
08:16
How to replace an LED light on a Bottoms Up dispenser
LED light not working on your Bottoms Up dispenser? Maybe it's flashing intermittently or always staying on. Either way, it might be time to replace the light. Here's how, using an adjustable wrench or needle-nose pliers. The faulty light could be causing downstream issues to the other circuit boards too. Here's how to troubleshoot that: https://youtu.be/oKlEJFQY8yM For more answers on servicing your dispenser + free warranty parts, give us a call at (888) 618-0486. 0:22 Tools needed 0:41 Locating the LED under the dispenser 1:48 Loosening the nut 2:47 Disconnecting LED from circuit board and removing it 3:41 Signs of LEDs causing downstream issues 4:53 Confirm gasket is on new LED 5:06 Install new LED 5:24 Getting the nut over the connector 6:03 Tightening nut 7:31 Connecting to circuit board
Play Video
Play Video
15:45
Installing a Bottoms Up tap handle display
Since the Bottoms Up draft beer system doesn't dispense using tap handles (like a faucet system), you'll need to display your draft selection. We provide a stainless steel display with every install, but if your counter or bar is stone, concrete or any other material that's difficult to cut/drill into, you'll need to prepare the area ahead of time. Here are some simple ways to measure out the holes needed to install the tap display. The spacing of the holes will vary, but your installer will provide the measurements in the pre-install communications. For more information, give us a call at (888) 618-0486. 0:23 How the display is secured 1:03 Space needed under the bar 1:46 Where to ideally put the tap display in relation to the dispenser (1/2" away from far edge) 3:25 Measuring with no dispenser in place, in-counter dispenser (3/4" from hole) 5:27 Measuring with no dispenser in place, countertop dispenser (3/4" from hole) 6:21 Subtracting dispenser length from display hole centers and divide by two, for equal spacing 8:15 Measuring from the sides of the dispenser 9:02 Marking the drill holes 9:58 Double-checking your work 10:20 Measuring the holes if you already have the tap display, by tracing the feet (center of hole is 7/8" in from foot edge) 11:38 Drilling and routing the holes 12:30 Checking the holes are straight 12:39 Attaching the bolts to the tap display 13:32 Tightening the bolts 14:34 Checking the measurements 15:90 Final notes
Play Video
Play Video
13:10
Measuring for a Bottoms Up countertop dispenser hole
Countertop dispensers only require one, four-inch hole to run all tubing through. But, where should the hole go? If your bar or counter is made of a material other than wood (or something easy to cut), you or a third-party will need to cut the hole ahead of our arrival. Here's a guide to measuring the placement of the four-inch hole with a couple different dispenser setups. 0:20 Countertop dispenser overview 0:40 Chassis measurements 1:33 Measuring the dispenser to be flush with server-side edge 3:45 Measuring the dispenser with a bar mat in front of it 5:00 Mirrored dispensers 6:29 Why you need space between the mirrored dispensers 7:30 Measuring the space for mirrored dispensers 10:10 Leaving room for tap displays 10:52 Side-by-side dispensers 12:09 Leaving space between the side-by-side dispensers
Load More
bottom of page